
Bonding a strain gauge into a bolt that measures the tightening stress differs a lot from the conventional method of installing flat strain gauges. This article provides instructions on installing and using the cylindric strain gauges from HBK.
Cylindric strain gauges enable the measurement by embedding it in a hole drilled through the head of the bolt. Using a special strain gauge and adhesive, a simplified solution can be provided for measuring the axial load on bolt elements.
Watch the complete installation process in the step by step video
1. In the first step, drill in the center of the screw with a diameter of 2 mm and an appropriate depth. The required drilling depth and therefore the positioning of the gauge can vary depending on the screw. It needs to be assured that the strain gauge is set in an area where the maximum strain is expected. Additionally, the stiffness of the screw needs to be considered. Drilling reduces the cross section. Therefore, the durability of the screw might be reduced in some cases since the axial force needs to be distributed on this smaller cross section.

The following sketch shows how this shall look like:
2. Clean the drilling by spraying RMS 1 (Part number: 1-RMS1 or 1-RMS1-SPRAY) and air dry it afterwards (compressed air can be used as well). This is to be performed to remove all dirt particles, metal chips and dust from the inner walls. Ensure that the drilling is dry after the cleaning process.
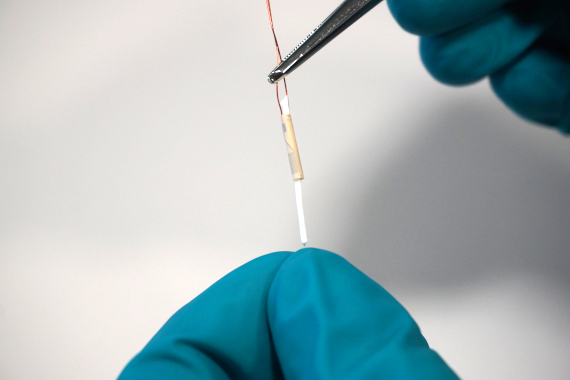
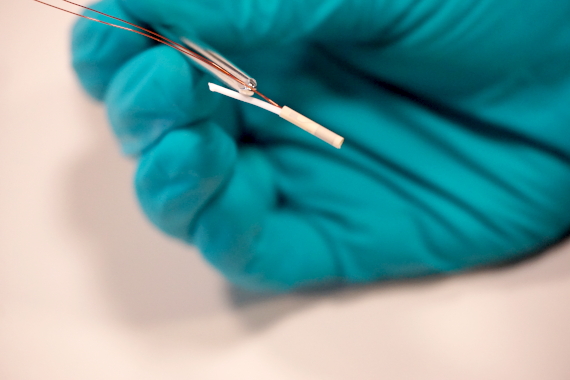
1. In the next step, take out one of the strain gauges from its package.
2. Cut an approximately 20mm long piece of teflon cord from the supplied roll with scissors. Grasp the strain gauge at the enameled copper wires with tweezers and insert the teflon cord into the cylindric strain gauge. Place the prepared strain gauge on a clean surface.
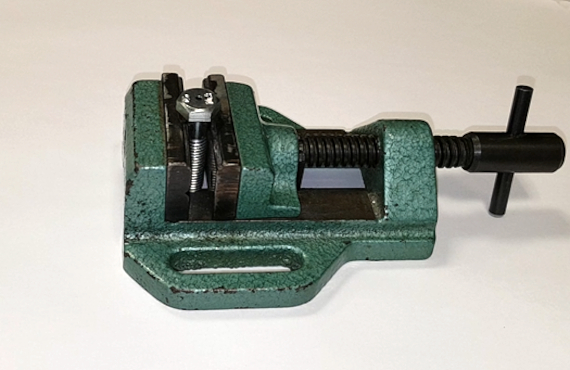
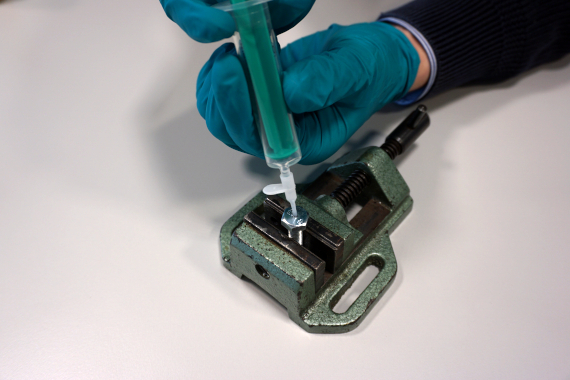
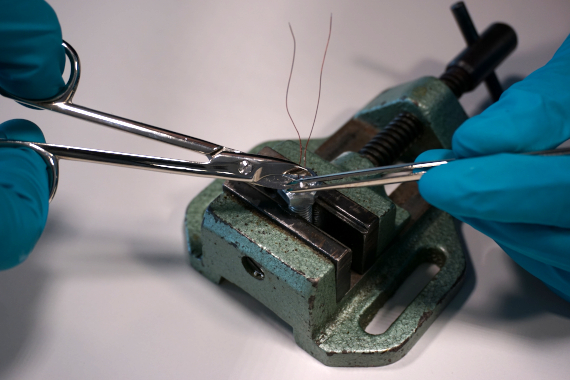
1. A bench vise is helpful to fix the screw during the bonding process of the gauge.
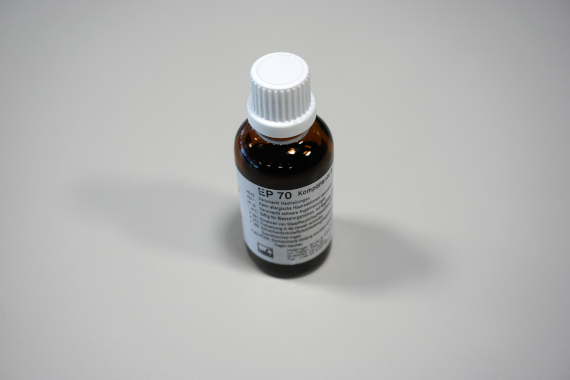
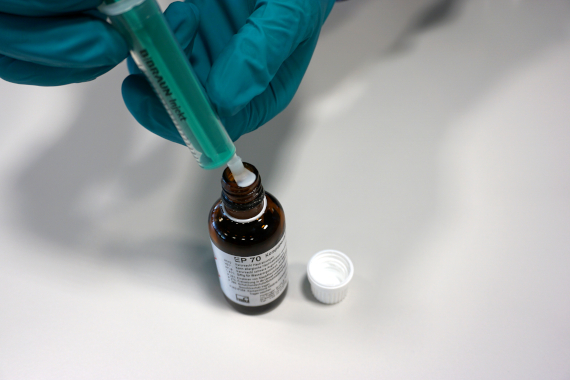
2. Fill a syringe or pipette with EP70 (Order number: 1-EP70). EP70 is an easy-to-handle, hot-curing epoxy resin adhesive especially suitable for applications with cylindrical strain gauges. During all installation steps, the occurrence of air bubbles must be avoided.

3. In the next step, fill up the predrilled bolt with the adhesive in the syringe. To reduce air bubbles put the syringe tip to the bottom of the drilling before the insertion of the adhesive. When the hole is filled up, pull out the syringe slowly by refilling in parallel adhesive.
4. Clean the surface on the bolt with cleaning pads from residual adhesive.
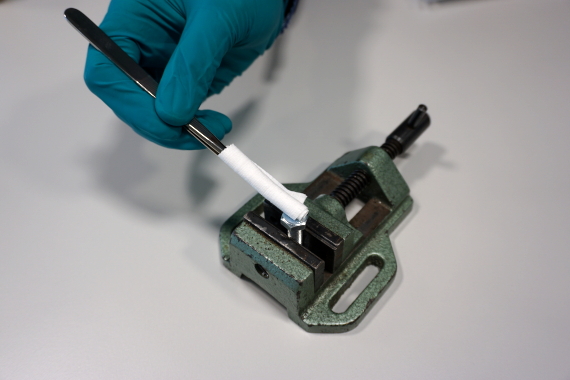
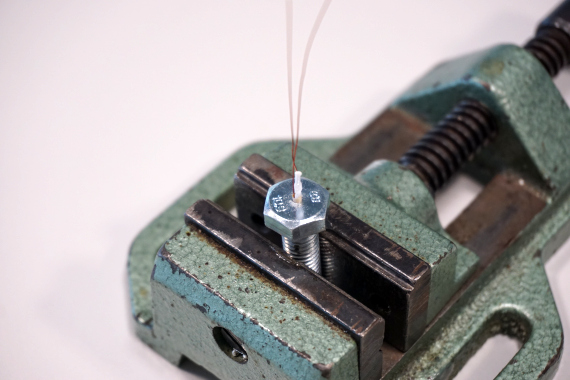
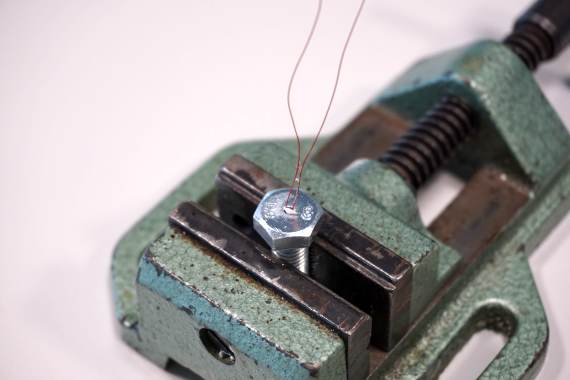
5. Insert the strain gauge in the hole of the screw. Take care not to compress the strain gauge during insertion. The cylindric strain gauge and teflon cord should rest at the bottom of the hole. Loosen air bubbles by slightly moving the strain gauge up and down in the adhesive.
1. Cure the adhesive for the specified time in an oven. The curing times of the adhesive are specified in the instruction manual.
| Temperature [°C/°F] | Curing Time |
| 60/140 | 3 hours |
| Optional post-curing at 100/212 | 4 hours |
2. After the adhesive has cured, the teflon cord protruding from the hole can be cut off with scissors. The remaining teflon cord stays in the installation. The bolt strain gauge is now ready for further installation!
Legal Disclaimer: Tech Notes are designed to provide a quick overview. They are continuously improved and change frequently as a result. HBM assumes no liability for the correctness and/or completeness of the descriptions. We reserve the right to make changes to the features and/or the descriptions at any time without prior notice.

This will bring together HBM, Brüel & Kjær, nCode, ReliaSoft, and Discom brands, helping you innovate faster for a cleaner, healthier, and more productive world.
This will bring together HBM, Brüel & Kjær, nCode, ReliaSoft, and Discom brands, helping you innovate faster for a cleaner, healthier, and more productive world.
This will bring together HBM, Brüel & Kjær, nCode, ReliaSoft, and Discom brands, helping you innovate faster for a cleaner, healthier, and more productive world.
This will bring together HBM, Brüel & Kjær, nCode, ReliaSoft, and Discom brands, helping you innovate faster for a cleaner, healthier, and more productive world.
This will bring together HBM, Brüel & Kjær, nCode, ReliaSoft, and Discom brands, helping you innovate faster for a cleaner, healthier, and more productive world.
This will bring together HBM, Brüel & Kjær, nCode, ReliaSoft, MicroStrain and Discom brands, helping you innovate faster for a cleaner, healthier, and more productive world.
